Tutorial 3: Create a polygon
This tutorial demonstrates the procedure to digitise a polygon using the Create Polygons tool..
If you encounter errors during the processing, then view the System Log File – File|View System Log File.
- Run MicroLevel – double-click the MicroLevel desktop icon. Take a moment to familiarise yourself with the main window. You will notice that almost all the sub-menus off the menu bar are not enabled. These will be enabled once the Working Directory is set.
- Set the Working Directory – File|Set Working Directory. Navigate to the "decorrugate" folder and click the Select Folder button. A message will be displayed in the Messages list box showing the Working Directory set. The Utilities menu items are now enabled.
- Launch Create Polygons tool – Utilities|Create Polygons. This will open the Create Polygons window.
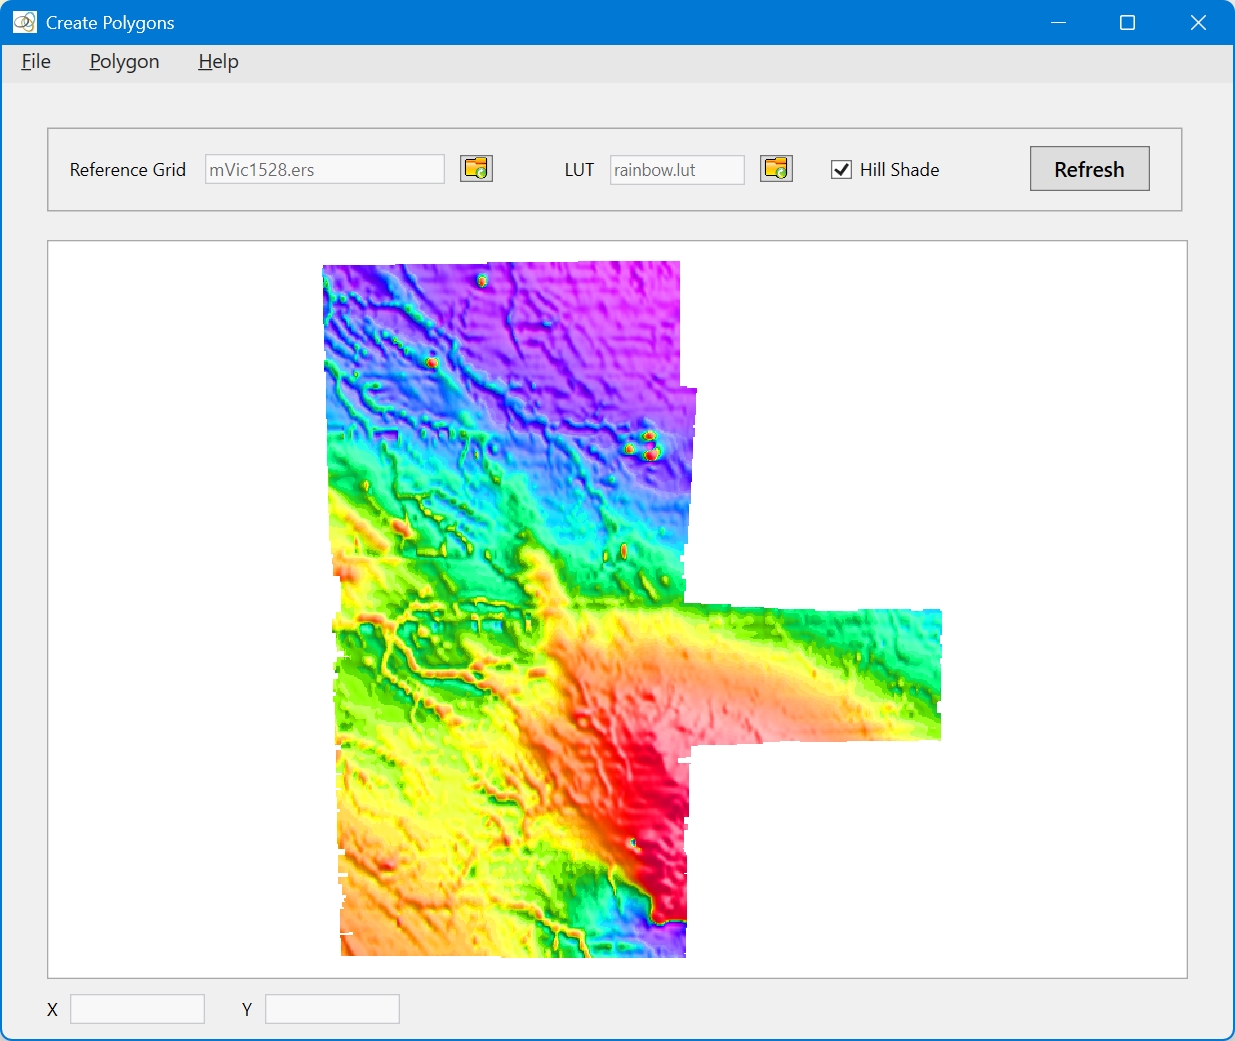
- Load a Reference Grid – File|Load Reference Grid. This will open an OpenFileDialog - navigate to the "GRIDS" directory and select "mVic1528.ers". The reference grid will be displayed in the image window. The Create Polygons window does not have pan and zoom functionality, but is is re-sizeable. So resize or maximise the window if you so wish. The window should now look like this:
- Digitise and Save a Polygon – Polygon|Trace Polygon to start digitising. Then click on any number of points on the image to digitise the polygon vertices. Once you have digitised all the required vertices, select Polygon|Close Traced Polygon to close the polygon. The polygon is now complete. If you are happy with the polygon, save it to a polygon file (Polygon|Save Polygon), or clear the polygon (Polygon|Clear Polygon) and start again. The window should now look something like this:

To digitise a second polygon, clear the current polygon (Polygon|Clear Polygon) and repeat step 5 above.